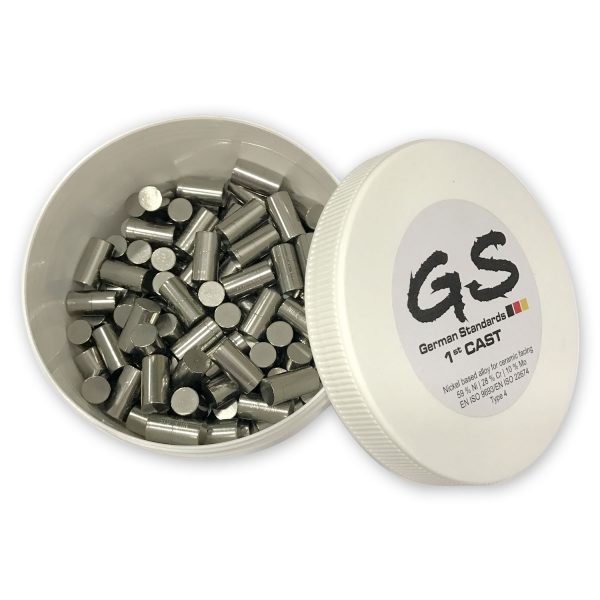
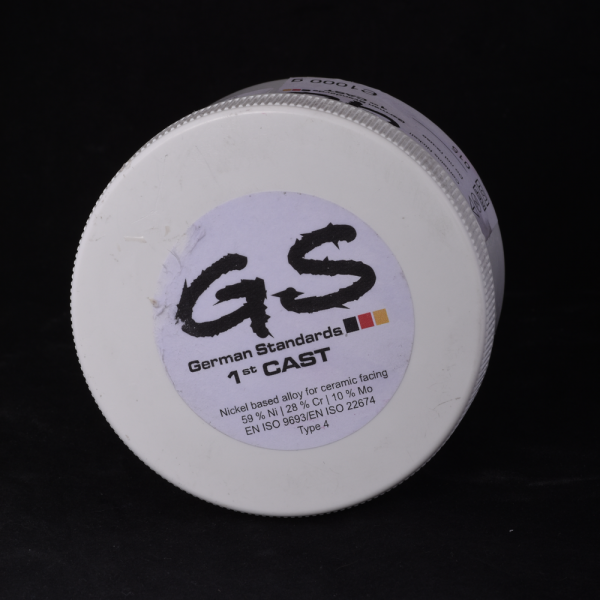
German Standards 1st Cast
0
Nickel-chrome bonding alloy ( beryllium free in accordance with EN ISO 22674 and EN ISO 9693)
Description
1. Indication:
GS 1st CAST is a Nickel-chrome bonding alloy (beryllium free in accordance with EN ISO 22674 and EN ISO 9693) for yhe complate crown and bridge technique: ceramic and acrylic veneering techniques, milling technology, combination technology, as well as conical, bar and construction elements.
2. Technical Data
| Ni | Cr | Mo | Nb | Si | Fe, Mn, Ta | C |
| ~ 59 | 28 | 10,0 | 1,5 | 1,2 | <1 | < 0,1 |
| EN ISO 9693/EN ISO 22674 | Type 4 |
| Rp 0.2 [N/mm2]* | 395 |
| Tensile strength [N/mm2]* | 695 |
| Elongation [A5 %]* | 20 |
| Vickers hardness HV 10 | 200 |
| Density [g/cm3] | 8.2 |
| CTE (20-600°C) [μ/K] | 13.9 |
| Melting range [°C] | 1250-1290 |
| Oxidation temp. [°C] | 960/vac.(2min.) |
| Supply form | cylinder |
3. Safety instructions
Inhalation of metal dust and vapour is harmful to health. Alloys must therefore only be processed at workplaces with extraction hoods and using respiratory protection masks of type FFP3-EN149!
Product contains Nickel
4. Modelling / Casting channels
Avoid sharp edges. Modelling should not be carried out below a minimum wall thickness of 0.3 mm. A hollow channel should be produced in the cervial and palatinal regions.
| Single crown | Canal | Ø3 – 3.5mm |
| Bridge | Crossbars | Ø3 – 3.5mm |
| Casting channel | Ø3 – 3.5mm | |
| Pinning to object | Ø2.5mm, length 1.5 to 2mm |
5. Investing / Preheating
For investing, we recommend phosphate-bonded investment materials.
The manufacturer’s relevant instructions must be followed.
Note: GS 1st CAST is intended for single use only! Multiple melting can significantly change the composition and therefore also the material properties.
6. Melting / Time of casting / Casting
Only use preheated ceramic crucibles!
1. Vacuum pressure casting and centrifugal casting with induction heating: Melt the casting cylinder until the melt takes on a consistent light colour and the casting crust tears open. Wait 3 to 4 seconds and then pour off.
2. Flame centrifugal casting: Apply the flame over the crucible until the liquidus temperature has been attained, the melt takes on a consistent light colour. Pour off once the melt clearly moves under the pressure of the flame.
7. Devesting
Allow the hot muffle to cool down in the air to lukewarm, carefully remove large pieces of investment material with tongs and fine divestment then follows with aluminium oxide abrasive 120 μm. Donot quench the hot muffle in the cold water.
8.1 Ceramic: Pretreatment of the framework
Detach the casting channels and process the bridge / crown as usual. Only use sintered diamond or cross-cut carbide tools. Blast the prepared framework once again with aluminium oxide abrasive 30 μm – 50 μm at a blasting pressure of max. 2-4 bar.
8.2 Oxide firing
The blasted and steam cleaned framework is annealed at 960°C for approx. 2 min. in vacuum. Afterwards, blast again with aluminium oxide abrasive 30 μm – 50 μm and steam clean. Only use compressed air free of oil and condensed water. Only use a blasting unit for blasting crowns and bridges that is free of investment material residues, as phosphate residues can weaken the metal-ceramic bond.
8.3 Ceramic firing
The ceramic manufacturer’s instructions must be followed in ceramic firing. Dental ceramics are suitable for veneering, which have the same CTE (13.9) as GS 1st CAST.
9. Acrylic veneering:
The manufacturer’s relevant instructions must be followed for acrylic veneers.
10. Laser welding and soldering
Laser welding of dental alloys is generally preferable to soldering.
11. Contraindications
In cases of known hypersensitivity to one of the components of the alloy, the alloy should not be used or the restorations must be replaced by other materials.
Electrochemically induced paraesthesia may occur due to galvanic effects arising from approximal of antagonistic conatct to dental prostheses made of different alloys. also in the case, the restroation have to be replaced.
Related products
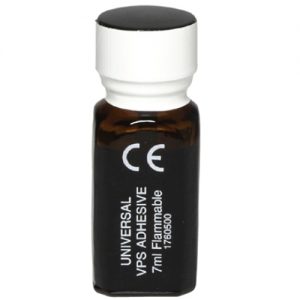
GC Universal Adhesive, 7ml for EXA Materials
Universal Adhesive, 7ml for EXA Materials
ر.ق95.00Add to cart
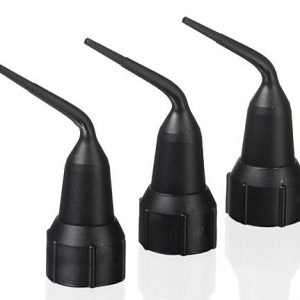


GC Capsule Applier III
Applier
For use with GC’s GIC materials in capsules.
ر.ق185.00Add to cart
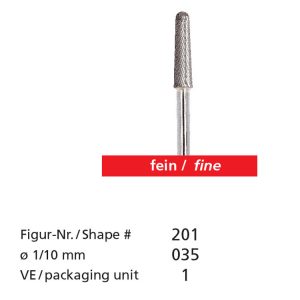
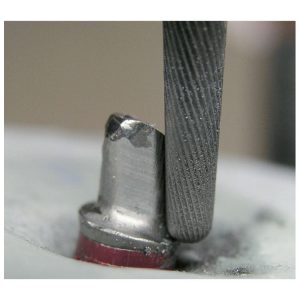
Implantan Finishing Burs – Fine – Shape 201
• Titanium abutments
• Specially designed crosscut to achieve smooth titanium surfaces for easy polishing
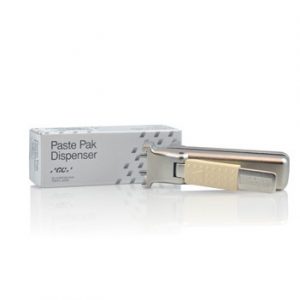
GC Paste Pak Dispenser
Paste Pak Dispenser
Dispenser for GC paste pak materials
ر.ق285.00Add to cart